Have you ever tried ribbon yarn ? or Do you want to try ribbon yarn and want to know what it would be like ? then this blog post shares my honest opinion working with the hobbii ribbon yarn I ordered from Hobbii. I hope this review helps you decide if ribbon yarn would be a good choice for your next project.
Fiber Characteristics
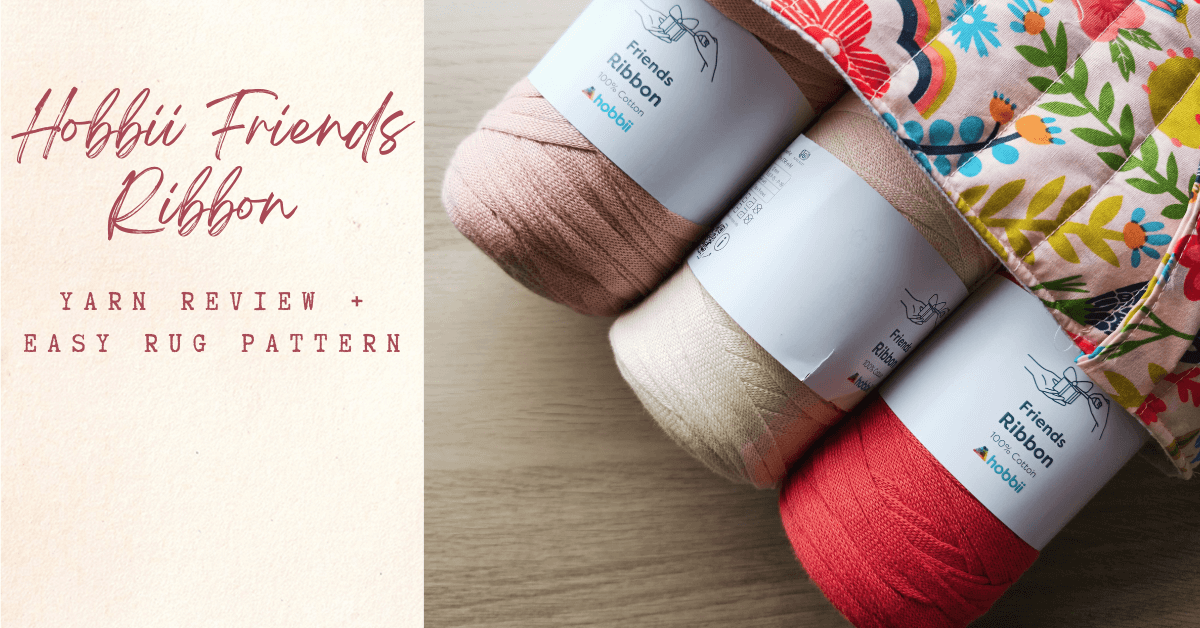
I made a rug with hobbii’s ribbon yarn and used 3 shades 03, 52, 55. The fiber is made from 100% cotton and is priced around 14 euros in spain. The yarn has a partially gauze like feel and is super bulky in weight. Like any ribbon yarn this yarn also twists a little and can be difficult to manage but after a row or two its easier to work with. I used an 10 mm hook for the rug but the recommended size is 12 mm. In my opinion, this yarn is suitable to make rugs, bags, laptop cases, baskets, coasters, potholders and other house decor items.
I use my rug in the kitchen and the yarn is super absorbent and also washes really well. I have washed my project 3-4 times and each time it looks better than before. However , I do recommend blocking the project before and after washing as it gives a cleaner finish.
What can I make with a Roll?
Now, the next interesting question is how much yarn do u need ? The answer to this varies according to each project but I will share a rough idea here. A roll is around 136 yarn (125m) more or less and with 1 roll its possible to make a medium sized basket or a placemat. For a laptop case, mid sized bag you will need at least 2 rolls and for a tote you will need around 3 rolls. The rug I made is around 33 x 19 inches and I used 3 rolls of yarn.
Materials
I used ribbon yarn, tapestry needle for this project and a 10 mm hook to go along with it.
Pattern for Rug
abbreviations
ch – chain
dc – double crochet
fc – foundation chain
Pattern Begins
Foundation: Ch 75.
Row 1: Dc in the 3rd ch from hook and in each ch across. (73 dc)
Row 2: Ch 2 (counts as first dc), turn. Dc in each stitch across. (73 dc)
Rows 3–29: Repeat Row 2.
💡 Tip: Normally, you would weave in the ends with a tapestry needle, but ribbon yarn can be bulky and difficult to secure this way. Instead, I simply crocheted over the yarn tails when changing colors — this method is much easier and gives a neat finish.
For the final color change, I did weave in the end using a tapestry needle. The trick with ribbon yarn is to insert the yarn flat side first into the eye of the needle, then weave it vertically through the stitches. This helps the yarn blend in neatly and stay secure without creating bulk.

In my upcoming posts, I’ll be sharing my experience using YarnArt Ribbon yarn in other projects. In the meantime, I’d love to hear your thoughts—have you tried Hobbii’s ribbon yarn or ribbon yarn in general? Share your experiences in the comments!
Thats all for this post – Happy Crocheting 🌟


