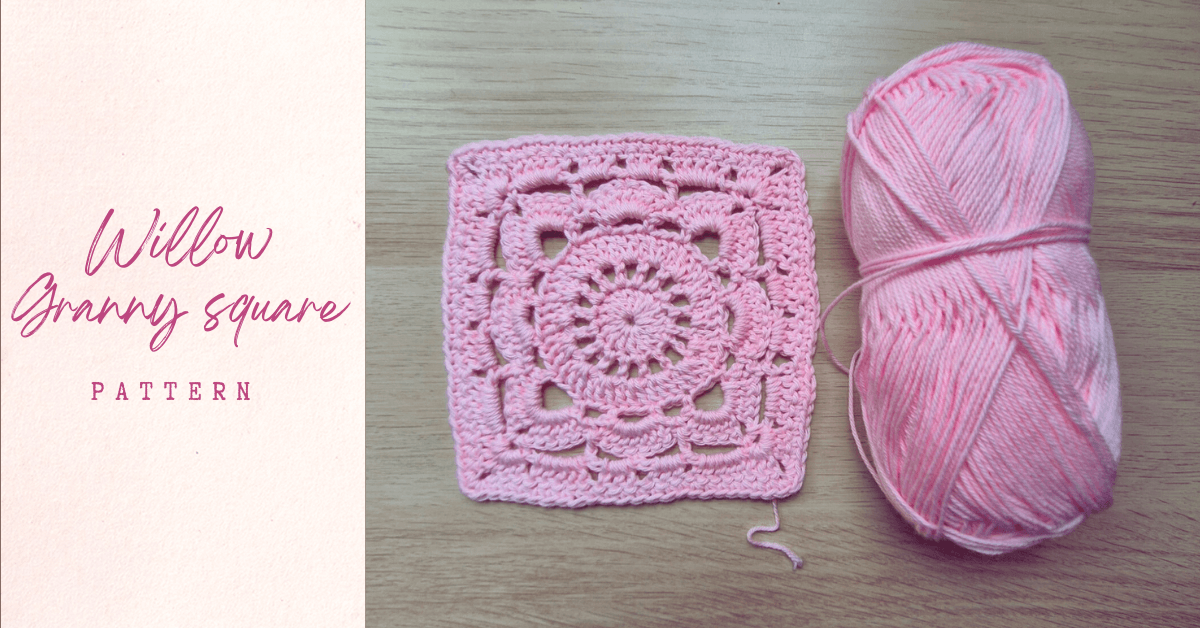
Are you looking to make a granny square but want something a little different from the traditional style? The Willow Granny Square might be just what you need. It’s a beautifully intricate design that still uses only basic stitches, making it approachable for beginners. I’ve made around 20 of these so far, and it was an amazing experience each time.
The Granny Square is worked in rounds, starting from the centre and building outward. What makes it stand out is the petal-like design that forms as you go, giving it a soft, floral look. Now, let’s jump into the written pattern so you can start making your own Willow Granny Squares!
Materials
For this project you will need yarn, tapestry needle, crochet hook and scissors.
Pattern
The Pattern uses US Stitch Terms
abbreviations
ch – chain
sc – single crochet
dc – double crochet
Pattern begins
Round 1: Make a magic ring and ch 3, then in the same magic ring do 15 dc. At the end of the round you have a total of 16 dc then pull the non-working yarn and close the magic ring and slipstitch at the top of the ch 3

Round 2: Ch 4 (counts as 1 dc + ch 1), then turn your work. Dc in the next dc from the previous round, ch 1. Repeat this pattern all the way around. At the end, sl st into the top of the starting ch 4 to finish the round. You should have 16 dcs at the end of this round

Round 3: Ch 3 and turn your work. Work 2 dcs into the next ch space, then 1 dc into the next double crochet stitch from the previous row. Repeat this sequence around. You should have 48 dc at the end of the round. Finish by slip stitching into the top of the beginning ch 3.

Round 4: This round is 5-4-3-4. ch 6 to create the first corner space. From there, you work along the side by skipping 2 stitches and making a sc, followed by of ch 4 , skip 2, sc in the 3rd stitch then ch4, skip 2 chains and sc in the 3rd stitch. This pattern is better explained in the image below.

Round 5: ch 3 (counts as the first dc) and make 4 dc, ch 2 and 5 dc all the the ch 5 space then make a sc in the ch 3 space, after that make 7 dcs in the ch 4 space and then again a sc in the ch 3 space. Then repeat this for the whole round as illustrated in the image below. make a slipstitch in the initial ch 3.

Round 6: ch 6 (counts as ch 3 + 1 dc) and turn your work, skip 3 dcs and make a sc in the center of 7 dc,
then ch 3 and make a dc in the sc from the row below. ch 4 make a sc , ch 2 and sc in the ch 2 space.
ch 4 and make a dc in the sc from the row below.
ch 3 and make a sc in the centre of the 7 dc from the row below.
ch 3 and make a dc in the sc from the row below. then repeat the above round as shown in the image then slipstitch in the 2nd ch of the initial ch 6.

Round 7: ch 3 ( counts as a dc) , turn your work. Make 4 dc in the ch 4 space, then make 3 dc, ch 2, 3 dc in the ch 2 space from the round below, make 5 dc in the ch 4 space and this makes one corner of the square.
Then make 3 dc in each of the ch 3 spaces. Then repeat the above step and this step to complete the whole round

Round 8: ch 1 and turn your work. Then make a sc in each stitch and 2 dc in each of the ch 2 spaces from the row below.
To Conclude
and voila!! your willow granny square is ready. I know that the pattern reading feels a bit overwhelming but the watching a video regarding pattern will be very helpful. There are tons of things you can make with these squares—coasters, blankets, cardigans, or even a pocket for your tote bag 😎. I know I’ll be using them that way, and I’ll be sharing it here on the blog in another post soon.
Thats all for this post, Happy crocheting 🙂


