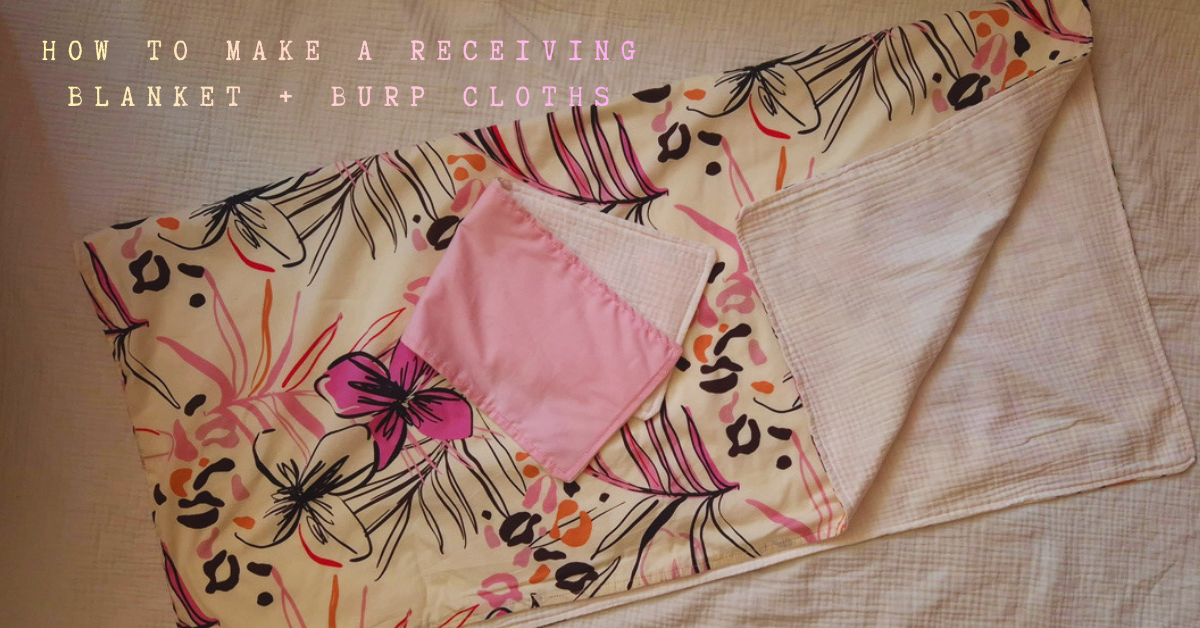
As I’m writing this, it’s the night of Sant Joan here in Barcelona. The fireworks have been going off for hours, and sleep doesn’t seem to be an option anytime soon, so I decided to use the extra awake time to finally sit down and share one of my recent sewing projects: a double-sided receiving blanket for babies.
The idea for this project came after I spotted a few beautiful muslin and cotton receiving blankets while shopping for baby essentials. They were lovely, but I was surprised by how expensive some of them were. Since I already had fabric on hand and had been looking for beginner-friendly sewing projects, I thought, why not try making my own?
What makes this tutorial a little different is that this was actually my first time sewing a receiving blanket. I’m still very much a beginner when it comes to sewing, so if you’re new to sewing too, you’re in the right place. I found this project surprisingly simple, practical, and forgiving, making it a great choice for anyone looking to build confidence with basic sewing skills.
While making the blanket, I also decided to sew a matching burp cloth. The process is almost exactly the same with a few changes in the measurements. Since the techniques overlap so much, I’ll share the burp cloth instructions as well, so you can easily create a coordinating baby set like I have.
Whether you’re sewing for your own baby, making a thoughtful baby shower gift, or creating a handmade newborn set, these double-sided receiving blankets and matching burp cloths are both useful and beautiful. Let’s get started!
Materials
- 1.5 meter 100% Cotton Fabric
- 1.5 meter Muslin
- Scissors
- Pins (To keep the 2 pieces in place)
- Tailor Chalk
- Thread
- Measuring Tape
The leftover fabric from this can be used to make burp cloths
Make a Double Sided Recieving Blanket
Cut and Layer Your Fabric
Begin by cutting one piece of cotton fabric and one piece of muslin fabric to approximately 41 x 41 inches. This extra inch allows for seam allowances and trimming, giving you a finished receiving blanket that measures about 40 x 40 inches.
Lay your cotton fabric on a flat surface with the right side (the patterned or finished side) facing up.
Next, place the muslin fabric on top. Since muslin often looks similar on both sides, simply smooth it out so that it lies flat against the cotton fabric.
If you’re using two cotton fabrics, place the second piece right side down on top of the first fabric. In other words, the right sides of both fabrics should be facing each other, while the wrong sides face outward.
This may seem a little strange at first, but we’re sewing the blanket inside out. Once the blanket is turned right side out later, the beautiful finished sides of both fabrics will be visible on the outside, and all the raw edges will be hidden inside the blanket.
Sew Around the Blanket
Carefully align all four edges and corners, then use sewing pins to secure 2 layers. Starting along one side of the blanket, begin sewing around the perimeter using approximately a ½-inch seam allowance. Be sure to backstitch at the beginning to secure your stitches.


Continue sewing around all four sides, keeping your seam allowance as even as possible. Remember to leave an opening of about 4 inches along one side. then snip all 4 corners slightly (this is optional, I dont know why I did it).
This opening will allow you to turn the blanket right side out after sewing.

Turn the blanket right side out through the opening, and Use a blunt tool, like scissors to gently push out each corner so they look nice and crisp. Take your time with this step, as well-shaped corners can make a big difference in the finished appearance of the blanket.
Next, press the blanket with an iron, paying special attention to the edges and corners. This helps flatten the seams, aligns the fabric layers neatly, and folds the raw edges of the opening inward so they blend seamlessly with the rest of the blanket.
Topstitch Around the Edges
After ironing, sew around the entire perimeter of the blanket once more, this time using approximately a ¼-inch seam allowance from the edge.
This final row of stitching, often called topstitching, serves several purposes. It closes the opening used for turning the blanket, helps keep the fabric layers from shifting during washing, and gives the blanket a clean, professional-looking finish.
Give the blanket one final press with the iron, and your double-sided receiving blanket is complete and ready to use.
Burp Cloth Instructions
Finished size: Approximately 8 x 19 inches
If you’ve already read through the receiving blanket tutorial above, you’ll be happy to know that the burp cloth is made using exactly the same method. In fact, the only real difference is the size of the fabric pieces.
For my burp cloths, I used the same cotton and muslin fabrics as I did for the receiving blanket, but I cut each piece to 9 inches wide by 20 inches long. Since the construction process is identical, I decided to use the burp cloth for the step-by-step photos. The smaller size made it much easier to photograph and clearly demonstrate each stage of the sewing process.
Simply follow the same steps outlined above: place the fabrics right sides together, sew around the edges while leaving an opening for turning, turn the project right side out, press with an iron, and finish by topstitching around the perimeter.
These smaller cloths are also a great way to use up leftover fabric from the blanket project, and depending on your needs, they can double as baby wash cloths, nursing cloths, or general-purpose baby wipes around the house.
Cost breakdown
So I purchased the muslin from a a local market callet mercat del encants in barcelona and the muslin costed around 10 euros for 2 meters and The Cotton fabric was 6 euros for 2 meters. I still have a couple of both fabrics left enough to make baby suits and maybe around 4-5 burp cloths.
If you liked this Tutorial Be sure to check out How I made a Quilt for my baby. I will also be posting More on things I will make to welcome My baby so stay tuned!
Also adding another link for Recieving Blanket by another crafter that I really liked.