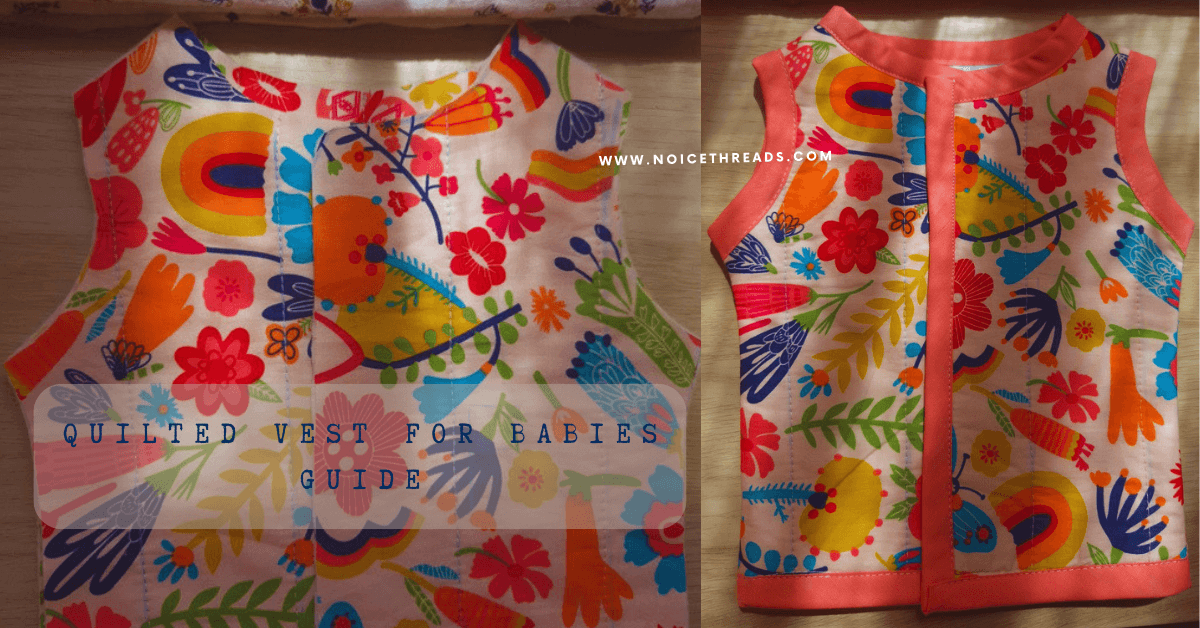
I had been searching for a pattern to make quilted vest for kids of different sizes, but I couldn’t find exactly what I was looking for. While browsing YouTube, I came across a helpful tutorial that explained how to trace a pattern from an existing shirt. Following the video made it easy to create a custom pattern for any size. I’ll link the original video below because I found it incredibly useful. Using that method as a starting point, I traced a pattern from a ready-made 3-month-old baby shirt I had already purchased.
Materials
- 0.5 meter 100% Cotton front fabric
- 0.5 meter back fabric
- 0.5 meter Quilt batting (using a cotton batting for this project)
- 1 meter Bias binding
- Scissors
- Pattern Paper
- Pins
- Tailor Chalk
- Thread
- Measuring Tape
Preparing the Pattern and Cutting the Fabric
To create the pattern, I followed the YouTube tutorial step by step. I started by placing a sheet of pattern paper under the baby shirt and traced the back piece exactly as shown in the video. For the front piece, I followed the same method but made one small modification. I added an extra 1.5 cm along the center front edge to create the vest opening. The rest of the front pattern was traced just as demonstrated in the tutorial.

Once the pattern pieces were ready, I folded the fabric in half with the right sides together. I placed the back pattern on the fold and cut one back piece. For the front, I also placed the front pattern on the folded fabric and cut around the pattern shape. After removing the pattern, I cut straight down the center of the front piece along the fold, creating two separate front panels for the vest opening.
Quilting the Vest
Lay the cut fabric pieces on top of the quilt batting. I used a large piece of quilt batting and trimmed it into manageable sections slightly larger than each fabric piece. Pin the fabric to the batting to keep the layers from shifting while quilting.
Using tailor’s chalk, mark parallel quilting lines approximately 2 cm (¾ inch) apart across each piece. Sew along the marked lines with your sewing machine, making sure to backstitch at the beginning and end of each row.


Once all the pieces have been quilted, trim away the excess batting by cutting around the edges of each fabric piece. This will leave you with neatly quilted front and back vest pieces that are ready for assembly.
For lining the inside of the vest, I chose a soft cotton fabric to make the inside of the vest comfortable to wear. Using the quilted front and back pieces as templates. I cut matching lining pieces in the same shape.
I then placed each lining piece behind its corresponding quilted piece. After that I carefully aligned the edges, and pinned the layers together. Rather than quilting the lining together with the outer fabric, I sewed the lining only around the edges of each vest piece.

Joining the Vest and Adding Bias binding
Once the lining was attached to the individual vest pieces. I placed the front and back pieces right sides together and sewed the shoulder seams keeping 1/4 inch seam allowance to join them.
Before closing the side seams, I finished the armholes by attaching bias binding around each sleeve opening. I took help from this video to add the bias binding. To attach the bias binding, I first stitched one edge of the binding to the armhole, following the curve carefully. Since the armhole has an inward curve, I made small cuts along the unfolded edge of the bias binding at regular intervals. These cuts allowed the binding to open up and follow the curve smoothly, preventing puckers.
After stitching the bias binding to the armhole, I folded it over the raw edge to the opposite side, enclosing all the raw edges between the binding. I carefully pressed the binding into place and secured it with a row of topstitching close to the folded edge.


Sewing the bias binding at this stage makes it much easier to achieve a clean and neat finish while the vest is still lying flat. After completing the bias binding around both armholes. I aligned the front and back pieces with the right sides facing each other and pinned the side seams in place. I then sewed along both sides from the armhole down to the bottom edge, joining the front and back pieces to form the body of the vest.
Finishing the Neckline and Vest Opening
Once the side seams were sewn, I turned the vest inside out so that the lining was facing up. This made it easier to attach the bias binding neatly around the remaining raw edges.
Starting at one front opening, I aligned one edge of the bias binding with the raw edge of the vest and stitched it in place. I continued sewing the bias binding in one continuous piece around the front opening, along the neckline, down the opposite front opening, and across the bottom edge of the vest.

At each corner where the front opening meets the bottom hem, I folded the bias binding using a mitered corner technique to create crisp, professional-looking corners. I followed the same method demonstrated here, which provides a clear step-by-step explanation of how to achieve neat mitered corners. At the end of the binding I used this video to join the binding together.
After the binding was stitched to the first side, I folded it over the raw edges to enclose them completely. I topstitched close to the folded edge, giving the neckline, front opening, and hem a clean and polished finish.
And thats all for this one. If you like this tutorial, then check how I made my very first baby quilt with step by step instructions so that you can make yours!