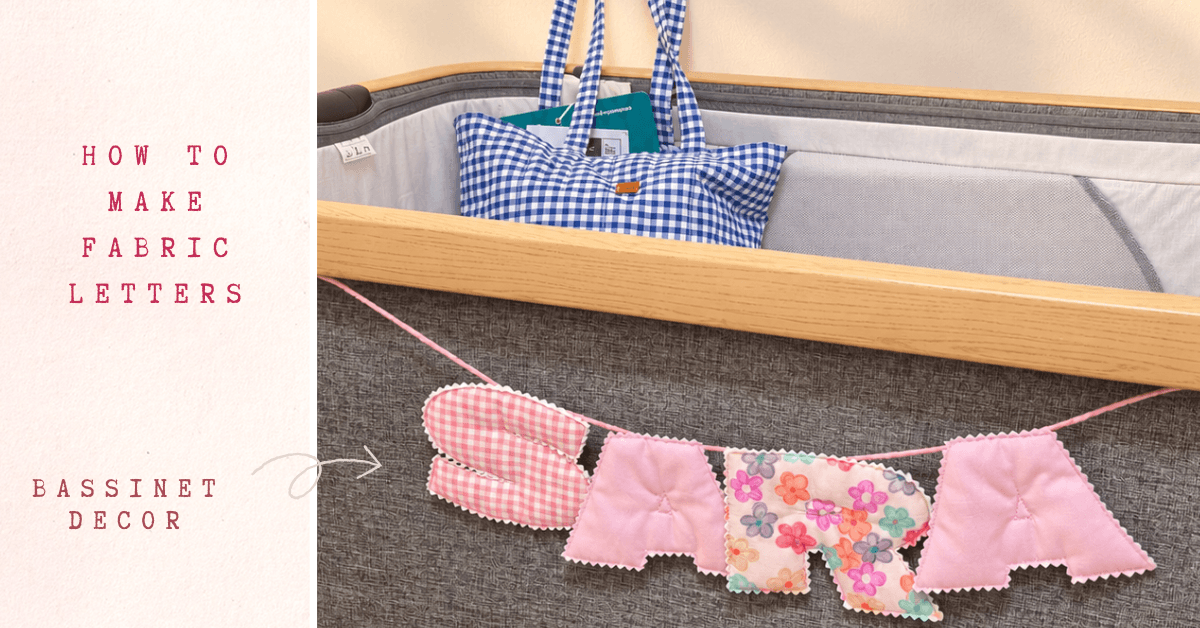
When I started making these fabric letters, I had one special place in mind: my daughter’s bassinet. I wanted to create something sweet and personal to decorate her little space, and these soft, handmade letters were the perfect touch. But what I love most about this project is how versatile fabric letters can be. They’re not just for a baby’s nursery and can be used to personalize a child’s room, add a cozy touch to a dorm room, spell out a name or message for a birthday celebration, or even create beautiful décor for a bridal shower. In this tutorial, I’ll show you how to make your own fabric letters step by step, so you can create something truly unique for any celebration or space. I also have a youtube short which outlines the process to make these letters.
If you want to see more interesting and useful projects to make for your baby follow this link.
Materials
- 2x fabric scraps sized: 14 x 18 cm (front and back)
- Polyester Batting
- zig zag scissors
- letter template made from Canva and then printed on A4 Paper. Two Letters can easily fit on one A4 paper.
make sure the box size on canva is 14 x 18 cm and the letter size should be approximately 11 x 12 cm
How to Make Fabric Letters
Step 1: Customize and Print Your Letter Template
Start by customizing the Canva template mentioned in the materials section. Choose the letters you’d like to make and adjust the size to your preference. Once you’re happy with your design, print the letters and carefully cut them out to create your templates.
Step 2: Trace the Letters Onto Your Fabric
Place each paper letter template onto the backside of your fabric. Using tailor’s chalk or a ballpoint pen, carefully trace around the letter.
Make sure you’re tracing on the wrong side of the fabric so that any markings will be hidden once your letter is finished.
Step 3: Layer Your Fabric and Batting
Now it’s time to create your fabric sandwich! Layer your materials in the following order:
Front fabric → Batting → Back fabric
Make sure the right sides of the fabric are facing outward, with the batting sandwiched between the two layers of fabric. Smooth out the layers and make sure everything is properly aligned.
Before moving on, give the fabric sandwich a quick press with an iron. This will help flatten the layers and make them easier to work with.
Once everything is nicely pressed and aligned, secure the layers together with pins.
Step 4: Sew Around the Letter
Place the layered fabric into your sewing machine and carefully sew along the outline of the letter that you traced earlier.
Take your time as you sew, especially around corners and curves. Try to follow the outline as closely as possible to create a clean and defined letter shape.
Step 5: Cut Around the Letter
Once you’ve finished sewing, it’s time to cut out your letter. Using zigzag scissors, carefully cut around the sewn outline, leaving approximately 1 cm of fabric around the stitching.
This step can be a little tricky if you’re using zigzag scissors for the first time. My best tip is to go slowly! Take your time around the curves and corners, and make small, controlled cuts rather than trying to cut around the entire letter quickly.
Make an Alphabet Banner
To make a banner use a fabric rope or a thick macrame cord and hand sew the top of the letters on the cord. I followed this video as a beginner and I really liked it!


Leave a Reply